
We notice a clear pattern when replacing failing cooling systems across the Klang Valley. Most homeowners focus entirely on choosing the right horsepower and brand.
That focus is understandable, but the actual setup process is what dictates long-term performance.
Our team sees countless units underperform simply because the basic aircon installation process was rushed.
So, let’s look at the data behind proper setup procedures. We will then outline a clear roadmap of exactly what to expect on the day of your appointment.
Before the Day
Preparation is the single biggest factor in preventing delays. A smooth installation requires a clear workspace and proper administrative clearance.
- Clear the workspace: Remove furniture below the indoor unit position. Clear the balcony or ledge path for the outdoor compressor.
- Handle strata approvals early: The Strata Management Act 2013 governs shared properties in Malaysia. You must secure written approval from your Joint Management Body (JMB) or Management Corporation (MC) at least one week in advance.
- Prepare the management deposit: Many Klang Valley condominiums require a refundable renovation deposit. This fee typically ranges from RM5,000 to RM20,000 depending on the building.
- Respect permitted working hours: Most building managements strictly restrict noisy drilling to weekdays between 9 AM and 5 PM.
- Read the full policy: Our complete guide to condo aircon installation covers the exact forms and lift booking procedures.
- Have the hardware ready: Ensure the new unit is on site if you are supplying it yourself. We bring the hardware if you purchase directly through our team.
Step by Step on Installation Day
1. Site check and marking
Every successful job begins with precise measurements. Our lead technician confirms the exact positions for both the indoor blower and outdoor compressor.
This crucial step prevents costly damage to your property. We check the wall for hidden pipes and electrical wires using a specialized scanner.
The bracket position and core hole are then clearly marked. Proper alignment requires the indoor unit to sit level horizontally, with a highly specific tilt toward the drain pipe to ensure gravity flow.
2. Mounting the indoor bracket and drilling
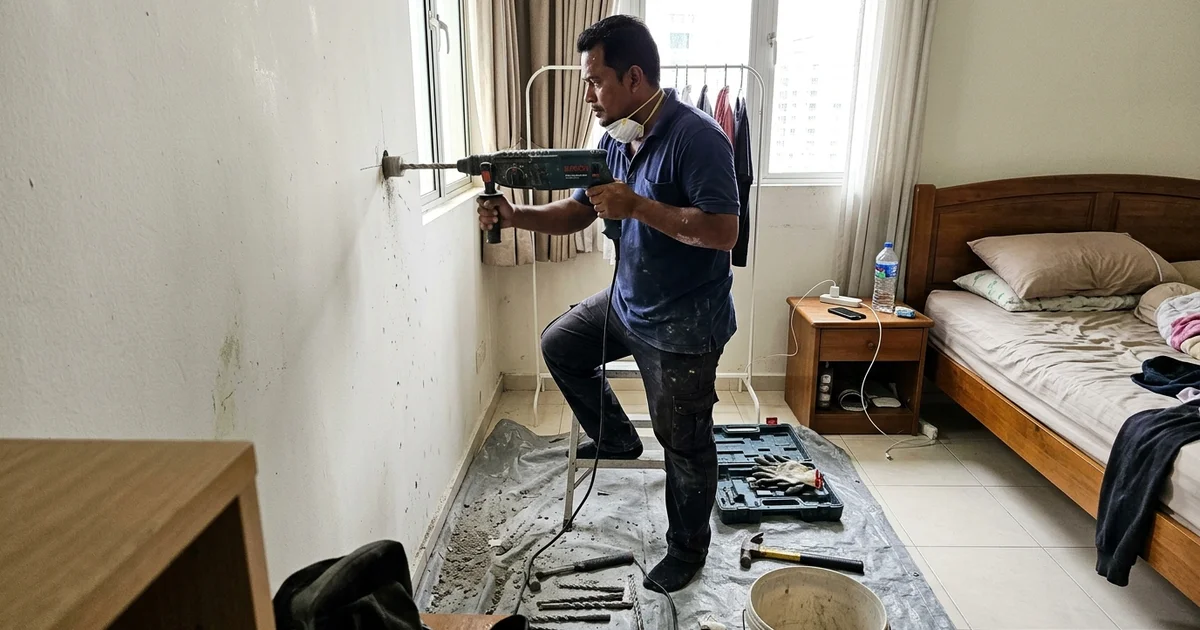
Heavy duty wall anchors secure the metal mounting bracket in place. Drilling the core hole for the copper piping, electrical cable, and PVC drain hose follows immediately.
This drilling process generates fine concrete dust. Our technicians always place a heavy canvas dust sheet down first to protect your floors and furniture.
The core hole must slope slightly downward to the exterior wall. Angling this hole prevents rainwater from running back inside during heavy monsoon storms.
3. Outdoor unit placement
Vibration causes significant noise pollution if handled poorly. The outdoor condenser unit goes onto a sturdy L-bracket on the exterior wall or directly on your designated aircon ledge.
We install thick rubber vibration isolator pads underneath the metal feet. These small rubber pads drastically reduce the humming noise that often travels through solid concrete walls.
4. Piping, insulation, wiring and drain
High-quality copper piping connects the indoor and outdoor units. Our technicians carefully cut and flare these copper lines before wrapping them in thick thermal insulation.
Proper insulation prevents messy condensation drips inside your walls. The interconnecting electrical cable is then run alongside the copper lines.
A steady downward slope is established for the drain hose routing. PVC trunking covers all exposed piping on your interior walls to maintain a clean aesthetic.
5. Vacuuming the lines
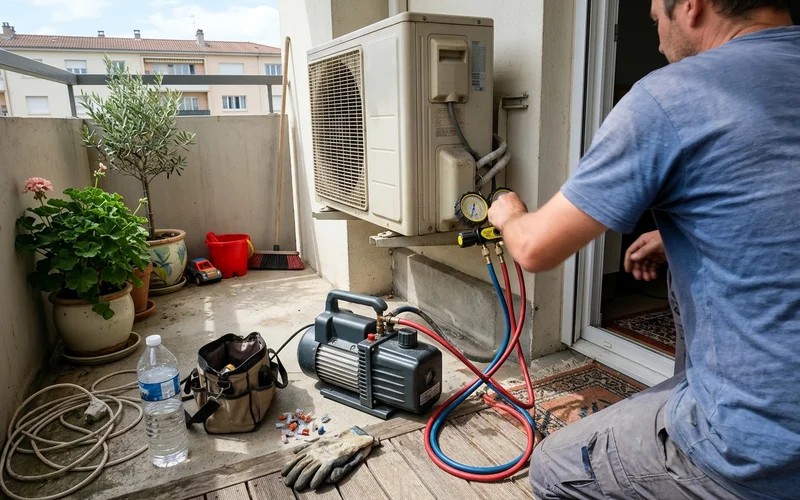
This specific step protects your expensive compressor from permanent failure. Modern systems in Malaysia use R32 refrigerant, which is highly sensitive to trapped moisture.
We connect a heavy-duty vacuum pump to the service port. The pump actively pulls air and non-condensable gases out of the copper piping for 15 to 30 minutes.
The pressure gauge must reach exactly -760mmHg to confirm a perfect vacuum. Holding this vacuum proves there are no leaks before the technician releases the refrigerant gas.
6. Test run
Powering up the system provides the final proof of performance. We run the aircon at full capacity to monitor the rapid cooling output.
The outdoor compressor is checked for smooth operation and correct refrigerant gas pressure. Cold air must flow freely from the indoor louvres within minutes.
A final visual inspection confirms the water drains away perfectly with absolutely no indoor drips.
7. Clean-up and handover
Leaving your home spotless is a strict company policy. The canvas dust sheets come up, and all drilling dust is vacuumed away.
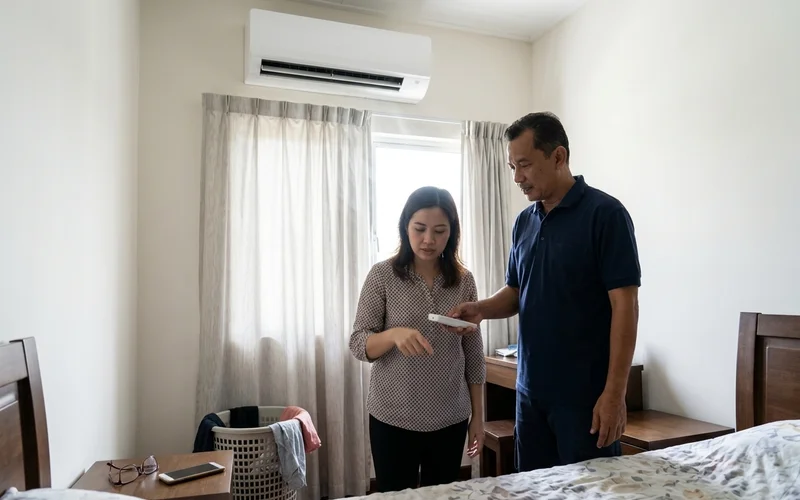
We clear all cardboard packaging and plastic wrap from the site. The technician will then show you the remote control functions.
Setting the temperature between 24°C and 25°C provides the best balance of fast cooling and energy efficiency. Our team finally signs the warranty documents and hands them over to you.
How Long It Takes
Scheduling your day effectively requires accurate time estimates. People often ask how long aircon installation takes in a typical home. Standard installations move quickly, but complex pipe routing always adds extra labor time.
| Job Scope | Estimated Duration |
|---|---|
| One standard wall unit (up to 10ft piping) | 2 to 3 hours |
| One wall unit on a high-rise condo ledge | 3 to 4 hours (includes security checks & lift padding) |
| Two or three standard wall units | 6 to 8 hours (full working day) |
| Ceiling cassette unit installation | 8+ hours (depends heavily on plaster ceiling access) |
Something unexpected?
Occasionally, hidden concrete beams, water pipes, or electrical wires appear exactly where the core hole needs to go. Changing the drilling location requires a new plan. We explain all available options and agree on any necessary price adjustments with you before proceeding.
After Installation
Protecting your investment requires consistent maintenance, especially in the Klang Valley’s humid climate. Your new air conditioner is fully covered by a 30-day workmanship warranty.
Water drips or minor gas leaks occasionally happen as components settle. We return to fix any installation-related problems entirely at no cost during this 30-day window.
The hardware itself also carries a separate warranty directly from the manufacturer. Our customer support team checks in after 7 days to confirm the unit is cooling perfectly.
Maintenance Recommendations for Humid Climates
The local climate creates an ideal breeding ground for dust and mold inside the blower wheel. Routine cleaning prevents expensive compressor failures.
- Filter Cleaning (Every 4 to 6 weeks): Slide out the plastic mesh filters and rinse them under the tap. This basic step keeps electricity bills low.
- Standard Service (Every 3 to 4 months): Hire a professional to wash the evaporator coils and clear the PVC drainage pipe.
- Chemical Wash (Every 6 to 12 months): Heavy daily usage requires alkaline chemical cleaning to dissolve stubborn mold and oily sludge deep inside the system.
Ready to Book?
Transparent pricing eliminates stressful surprises on the final bill. Standard installation starts at RM280 for a 1.0 HP wall unit.
This base rate includes up to 10 feet of premium copper piping. Any extra materials like extended PVC trunking or heavy-duty brackets are always quoted upfront.
We schedule appointments at a time that genuinely suits your busy routine. Weekend slots are highly popular for landed properties.
Keep in mind that most condo management offices strictly prohibit weekend contractor access.
Simply send a WhatsApp message with your room dimensions and a few photos of the wall. Starting the aircon installation process with a verified quote is the best way forward.