
Condo Installs Have Their Own Rules
Klang Valley weather feels hotter every year, making a reliable cooling system essential for any high-rise home. Installing an aircon in a landed house is mostly about the room itself.
In a condo, the building management matters just as much. There are shared walls, narrow ledges, and strict rules to handle before you even book a condo aircon installation.
Our team will break down the specific management requirements, explain where your equipment can actually go, and outline the exact steps for a smooth setup.
Step 1: Talk to Management First
Most condominiums in the Klang Valley enforce strict house rules for contractor work through their Joint Management Body (JMB). Our team handles these approvals daily, but owners must initiate the paperwork. Securing a Permit to Work (PTW) is your very first step before any equipment arrives.
- Contractor registration. Security checkpoints require full names, NRIC numbers, and vehicle registration plates at least 48 hours in advance.
- Working hours. Noise restrictions typically limit drilling to weekdays between 9:00 AM and 5:00 PM, with Saturday work often capped at 1:00 PM.
- Renovation deposit. Management offices standardly hold a refundable deposit ranging from RM500 to RM2,000 against potential common area damage.
- Outdoor unit rules. JMB guidelines dictate bracket placements on external walls and restrict modifications to the architectural façade.
- Lift booking. Securing the padded service lift is mandatory for transporting heavy condenser units and long piping.
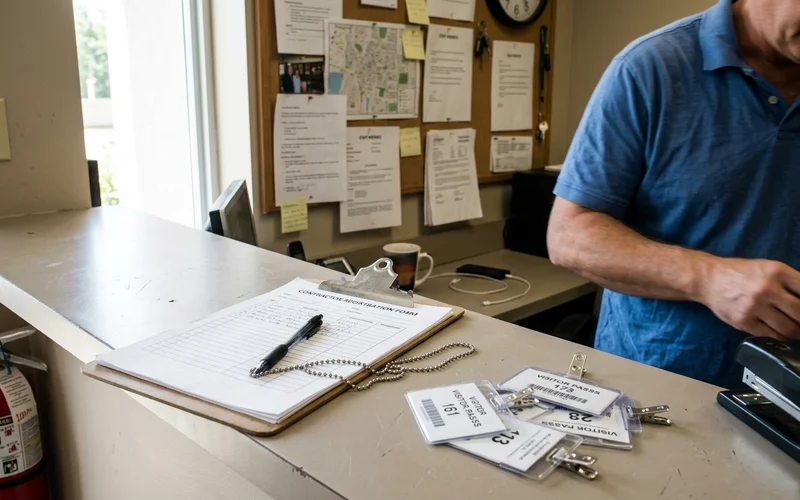
Send your condominium name and unit number to the booking agent. We will compile the specific registration details directly for your management office. This proactive step allows the guards to process the forms quickly on the day.
Step 2: Where the Outdoor Unit Goes
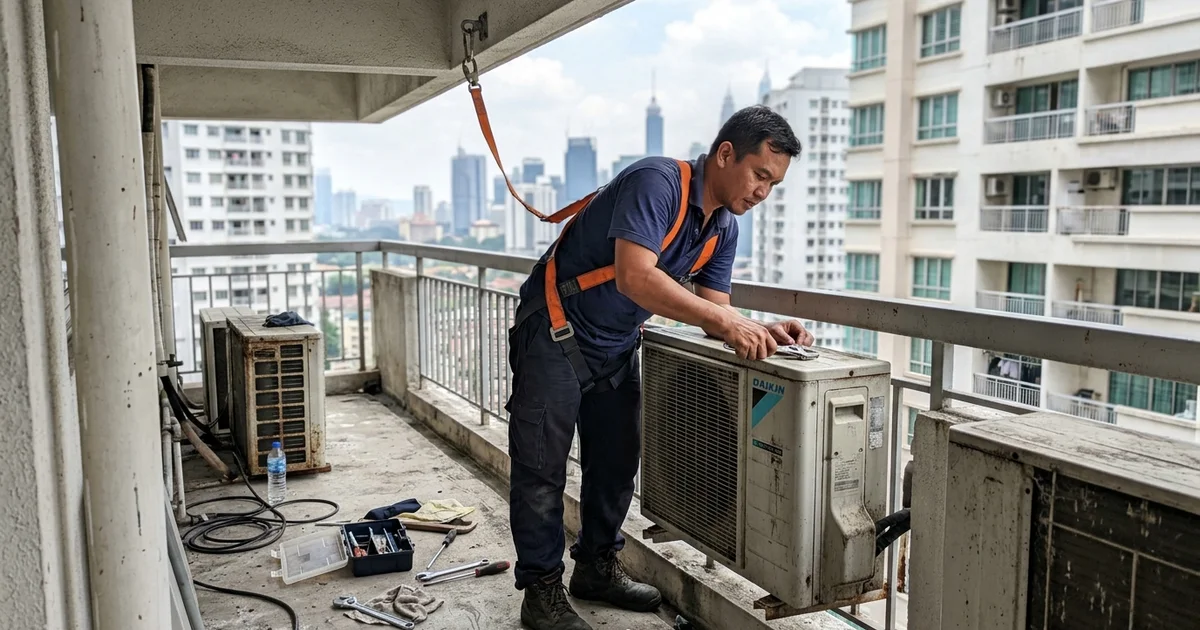
Most Malaysian high-rises feature a dedicated condo aircon ledge, which is a concrete shelf outside the bedroom or living room. The outdoor compressor sits in this designated zone to maintain the building’s uniform appearance.
Our technicians will place the unit either directly on the concrete floor or secure it using heavy-duty L-brackets mounted to the wall. Sometimes developers hide this area behind a decorative architectural grille.
- Enough clearance. Compressors need a minimum gap of 300mm from the back wall and 1000mm in front to prevent recirculating hot exhaust air.
- Secure mounting. Proper brackets paired with 15mm ribbed rubber vibration isolator pads stop mechanical humming from transferring into concrete walls.
- Safe access. Technicians require physical space to connect diagnostic gauges and clean condenser coils during routine servicing.
- No blocking. Shared ledges require careful positioning so exhaust fans do not blow directly onto a neighbour’s equipment.
Our crew uses certified safety harnesses when working on exposed high-rise ledges. A thorough site inspection identifies overly tight or dangerous access points well before the scheduled work date.
Step 3: Piping Length
Our standard package starts at RM280 for a 1.0 HP system, providing a complete setup with up to 10 feet of copper piping. This base length easily covers standard layouts where the ledge sits immediately outside the cooled room.
We strictly use 0.61mm thickness copper pipes (22 SWG) to safely handle the higher pressures of modern R32 refrigerants. Extended routes become necessary when facing specific structural layouts:
- The condenser ledge sits outside a different room entirely.
- Your indoor blower unit mounts on the opposite wall facing away from the exterior.
- The routing path must navigate around structural concrete beams or large window frames.
Extra materials require a clear upfront quote based on your specific floor plan. You will always approve the final total before any drilling begins. Our complete guide to aircon installation charges breaks down exactly how these additions work.
Step 4: Hiding the Pipes
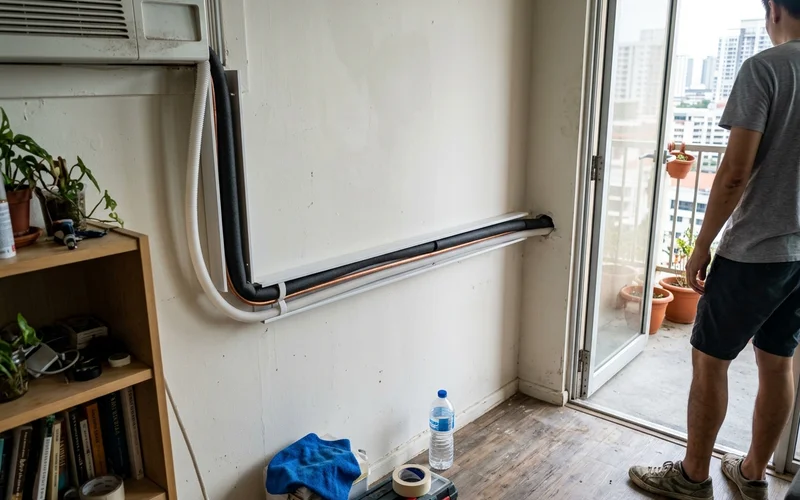
Piping and the drain hose must run together from the indoor blower through a core hole out to the exterior ledge. Leaving these insulated lines exposed along an interior wall creates an unfinished, messy look in your living space.
We recommend installing a 2x3 inch PVC trunking casing to neatly conceal the entire run. This protective cover blends into the background and easily accepts standard interior paint to match your existing walls.
Step 5: Drainage Routing
Water condensation must route safely into a designated drain, because letting it drip freely from a high-rise window violates Malaysian strata laws. Dripping water damages the building façade and often triggers complaints that result in JMB fines.
Our installers ensure the drain hose follows a strict downward gradient, typically dropping one inch for every ten feet of length. Common approved drainage points include:
- A floor trap located directly on the exterior ledge or adjoining balcony.
- A designated drain pipe pre-installed by the property developer specifically for AC water.
- A bathroom or utility drain, which requires routing the hose through an adjacent wet room.
A smooth, continuous slope prevents stagnant water pockets that eventually cause messy indoor leaks.
Before you buy the unit
Always measure the physical depth and height of your designated ledge space. Modern energy-efficient compressors often feature larger chassis designs, meaning high-capacity models might not fit older building ledges. Send a quick photo with rough dimensions to our support number, and a technician will verify the fit.
On Installation Day
We arrive at your scheduled time, complete the required guardhouse registrations, and immediately prep the workspace. A standard high-rise wall setup takes approximately three hours to finish and follows a strict protocol:
- Core drilling and secure bracket mounting.
- Copper pipe flaring and tight connections.
- A complete vacuum test on the refrigerant lines.
- A final operational test run.
Our technicians vacuum all masonry dust and clear away empty boxes before handing over the remote control. Every completed job includes a standard 30-day workmanship warranty alongside a scheduled 7-day follow-up check.
We are ready to schedule your condo aircon installation. High rise projects require careful planning, so WhatsApp your condominium name, preferred room layout, and a quick picture of the exterior space.
Our specialists will confirm your exact final price, including any required piping extensions, long before the work date. Booking early secures your preferred time slot for the week.